I'll try to tell how I do it - this sure ain't only or even right way to do hdr images but this is how I create them. I also try to give some tips that I've found good for use.
1. First you need digital camera and tripod.
2. Pay attention to compose; check that horizon is at line. Find something interesting to main subject of the picture. Learn to see, pay attention to details. Try to avoid putting main subject in the middle of the picture - almost always picture gets much more interesting when main subject is somewhere else than middle of the picture. Try to catch the atmosphere of the place to picture - so when composing think picture, not the whole place because picture gets only part of it. But remember always play with situation - sometimes it is good to break rules to get better photos.
3. If possible, use exposure bracketing and self-timer. I shoot with Canon PowerShot S5 IS and there are both of these.
Exposure bracketing means that camera takes example 3 photos with different exposures with just one shoot. I almost always take that 'middle' photo with under exposuring 1/3. This gives me almost always one and well exposured ordinary photo if hdr doesn't work. And those other two pictures I'll take at wide as possible, which means with my camera that other picture gets under-exposured -2 and that other over exposured +2.
Self-timer is good to avoid camera's shaking when shooting, I'll usually use 10 seconds delay.
So now we have 3 (same) pictures with 3 different exposures
4. Then I put them together. For that I use Photomatix Pro, which is quite simple and good program. First open those 3 pictures to Photomatix Pro (File-->Open)
5. Put them together (HDR-->Generate-->and ok few times).
6. After that you have some kind of "raw hdr" there. Go to HDR-->Tone Mapping. This is where we really get into hdr. There are quite much to get involved, but I'll usually use just few of them (those "important!" ones):
Strength: Almost always at 100
Color Saturation: Almost always at 48
Light Smoothing (important!): I almost always use +1 or +2, some rare cases +0 but almost never those minus numbers - they give so unreal look that... It just doesn't work for me.
Luminosity (important!): I almost always use numbers under zero here, but of course it depends the photo - some rare cases can need even plus numbers.
Microcontrast: I always keep it at +2 so put it there and forget.
Micro-smoothing (important!): with this you can also do quite lot to mood of the image. I usually use those more grainy values, something like +2 to +9, but this depends too.
When you have found combinations that seems good to your eye, just press ok. After few moments you have hdr picture there, and you can save it: File--> Save as.
After this I open picture to Photoshop, maybe do autocontrast or adjust it with my own hands and maybe play with colours.
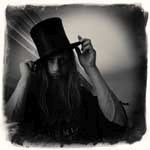
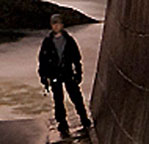
And finally, here are one example to compare (photos ain't exactly same but almost). First ordinary 'one exposure' photo:
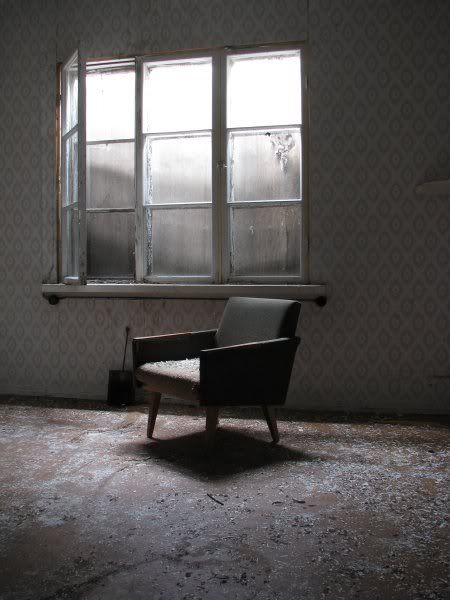
And here are hdr, built by three photos with different exposures:

As you can se, hdr can give much wider tone scale - this room was so dark that when I did want to get chair to see with just one photo, window did burn over. But with hdr, no problems, or at least not so big problems. 
I wish that somebody gets something useful out of this (even my english is pure pain). And don't forget to show results if you get any.
|