 |
|
|
UER Store
|
|
sweet UER decals:

|
|
|
|
Activity
|
|
810 online
Server Time:
2024-05-06 07:48:46
|
|
|
 Trap
     
Location: Dayton, Ohio
Gender: Male

Son, I am disappoint
 | |  | Po' man's Quick Release Plate.
< on 7/1/2010 3:20 AM >
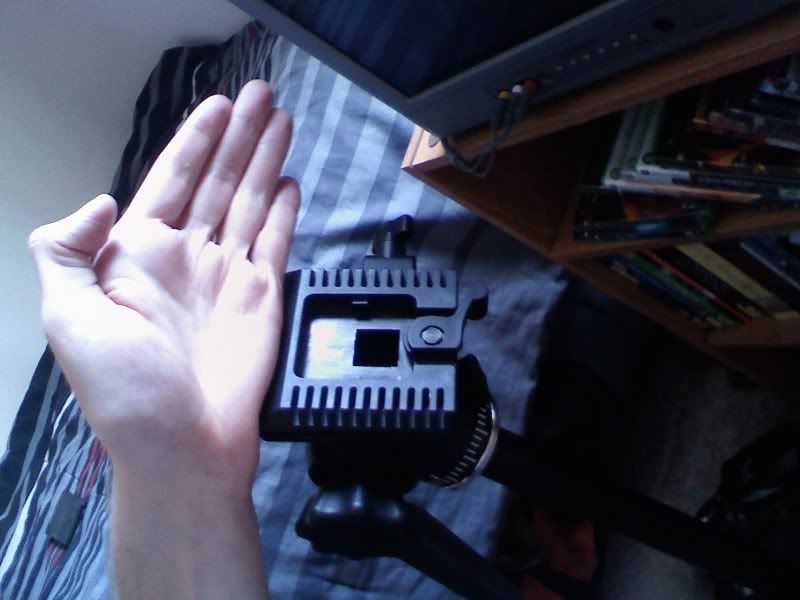
|  | | | So, about a week ago I bought a tripod at Goodwill for $5.00 but it didn't have a quick release plate with it anymore. Being so cheap I figured I could afford to buy a new plate from the net once I got home, but after some searching I found out the company is out of business now. Well what to do? Now I'm stuck with a useless tripod, I could throw it away but thats a waste of $5.00, so instead I decided to make a new QRP with the guidance of AnAppleSnail.
I hadnt planned on making a thread about this but was asked to, so I dont have step-by-step pictures...
Supplies I used:
1x 1/4d bolt, 20 threads/inch (Or in more speakable English: A Quarter-Twenty bolt)
Elmer's school glue
Pen
Scissors
Dremel Tool
Box of beer
Paper
Hole Punch
After emptying the beer box (WOO!) I used a pen and a piece of paper to get a rough idea of the shape of the opening were the QRP would have gone
after getting it reasonably close on the paper I transferred my template onto a piece of the cardboard beer box and fiddled with that until I had a master template with all the notches and such cut out of it. I then used the master template to trace several shapes of cardboard and cut those out. I punched a hole in the center of each one for the bolt to pass through with the hole punch.
Continue to cut out more pieces and layer them into the hole on the tripod head, numbering them as you go.
after about three or four layers I had reached the channels on the edges where the QRP locks into the tripod head, so I cut the edges off of the next 7 or so layers to make the channels on the edges, as well as cutting a semi-circle in the bottoms of these pieces to accommodate the QR locking mechanism.
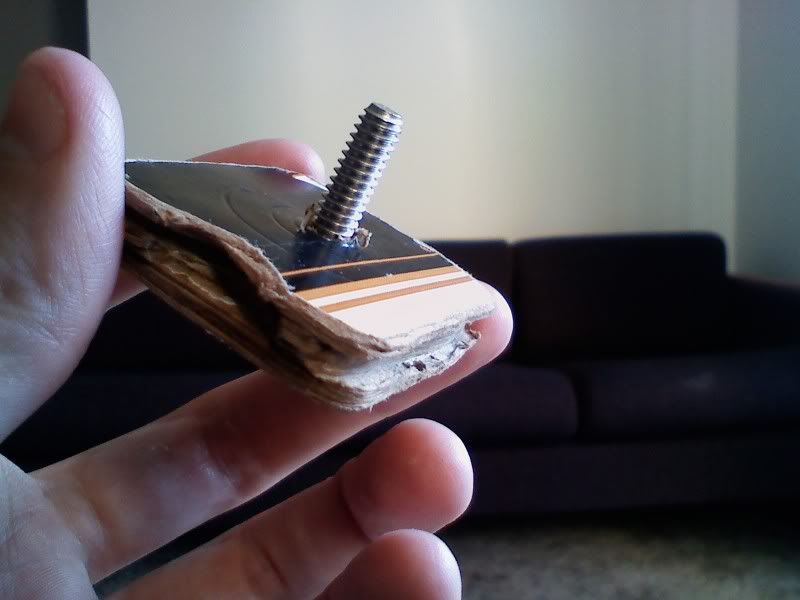
After I got above the channels I added another couple full sized layers, until it was flush with the top of the tripod head. Mine wound up being about 13 layers thick.
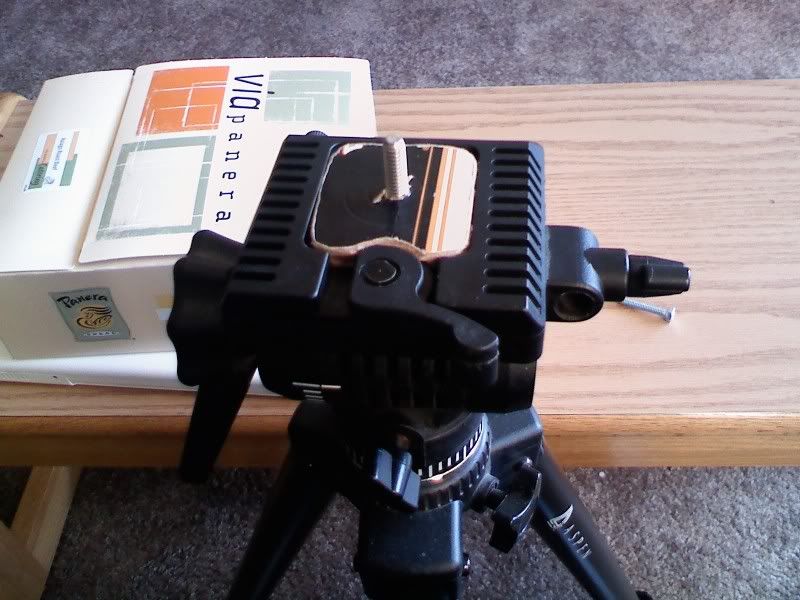
after I had all of my pieces cut I took them all out of the tripod head, and using the bolt to align them, glued them together one at a time with Elmer's school glue then pressed it all together, wiped off the excess and let it dry.
After it was dry I used a Dremmel tool to widen the channels on the sides a bit because they were too narrow to allow the QRP to slide into the head of the tripod.
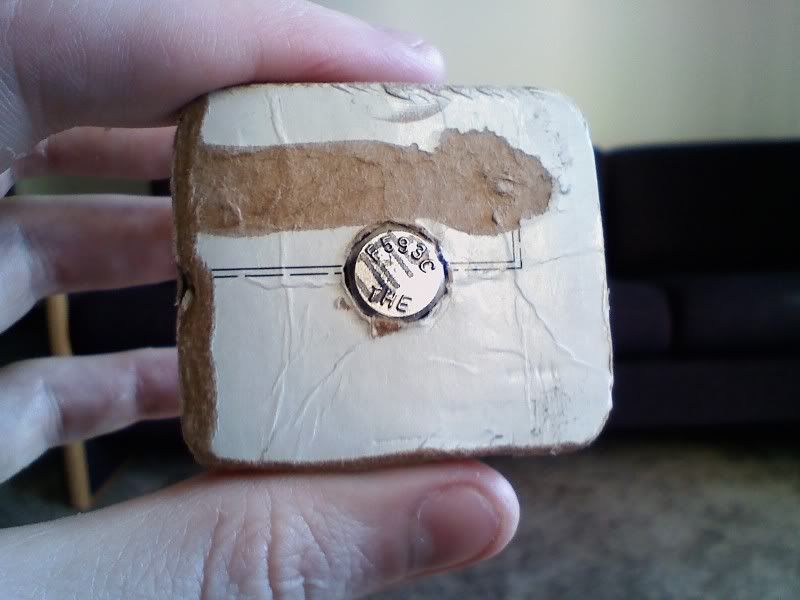
I also used the dremmel to cut a hole in the bottom of the QRP to accept the head of my bolt.
In my case the bolt I bought for this project is too long so I will need to shorten it. I haven't done this yet, but once I am able I will attach my camera to the bolt and mark how deep into the camera body the bolt goes. I'll take that measurement and measure that far up the bolt from the top of the QRP and mark it there. I'll then screw a wing nut onto the bolt and then place it in a clamp with the part of the bolt I'm cutting off in the clamp so as to not ruin the threads on the part that will go into the camera. Then, using a hack saw I will cut the bolt about a thread or two shorter than where I marked to ensure the bolt will be able to go far enough into the camera to make a secure fit. After cutting the bolt, remove the wing nut to re-tread any parts of the bolt that were damaged when it was cut, re-insert it into the QRP and Voila! a po' man's QRP!
My finished product:
[last edit 7/1/2010 3:23 AM by Trap - edited 2 times]
Posted by Send4Help:
ITS EIGHT FUCKING THIRTY!!
|
|
Orangedrink
 
Gender: Male

Phobiaphile
| |  | Re: Po' man's Quick Release Plate.
<Reply # 1 on 7/1/2010 3:42 AM >
| | | | Great tip with the wing nut!
This QRP looks a little like an abandonment or some kind of cool urban decay. If you squint just right at the last picture you can even see a spunking cock.
|
|
Trap
Location: Dayton, Ohio
Gender: Male
Son, I am disappoint
| | Re: Po' man's Quick Release Plate.
<Reply # 2 on 7/1/2010 3:56 AM >
| | | | HA! Now I can't unsee it! Also this project is hobo-approved! lol
Posted by Send4Help:
ITS EIGHT FUCKING THIRTY!!
|
|
macgruder

Location: Northern NJ
Gender: Male

| |  | | | Re: Po' man's Quick Release Plate.
<Reply # 3 on 7/9/2010 5:23 PM >
| | | | nice job! Nothing like a bit of create reusing of materials.
Canon 5D Mark III, Canon 50mm 1.2, Canon 28mm 1.8, Canon 16-35 f2.8L
http://www.flickr.com/photos/stevenbley/ |
|
|
|
All content and images copyright © 2002-2024 UER.CA and respective creators. Graphical Design by Crossfire.
To contact webmaster, or click to email with problems or other questions about this site:
UER CONTACT
View Terms of Service |
View Privacy Policy |
Server colocation provided by Beanfield
This page was generated for you in 111 milliseconds. Since June 23, 2002, a total of 740784270 pages have been generated.
|
|
